
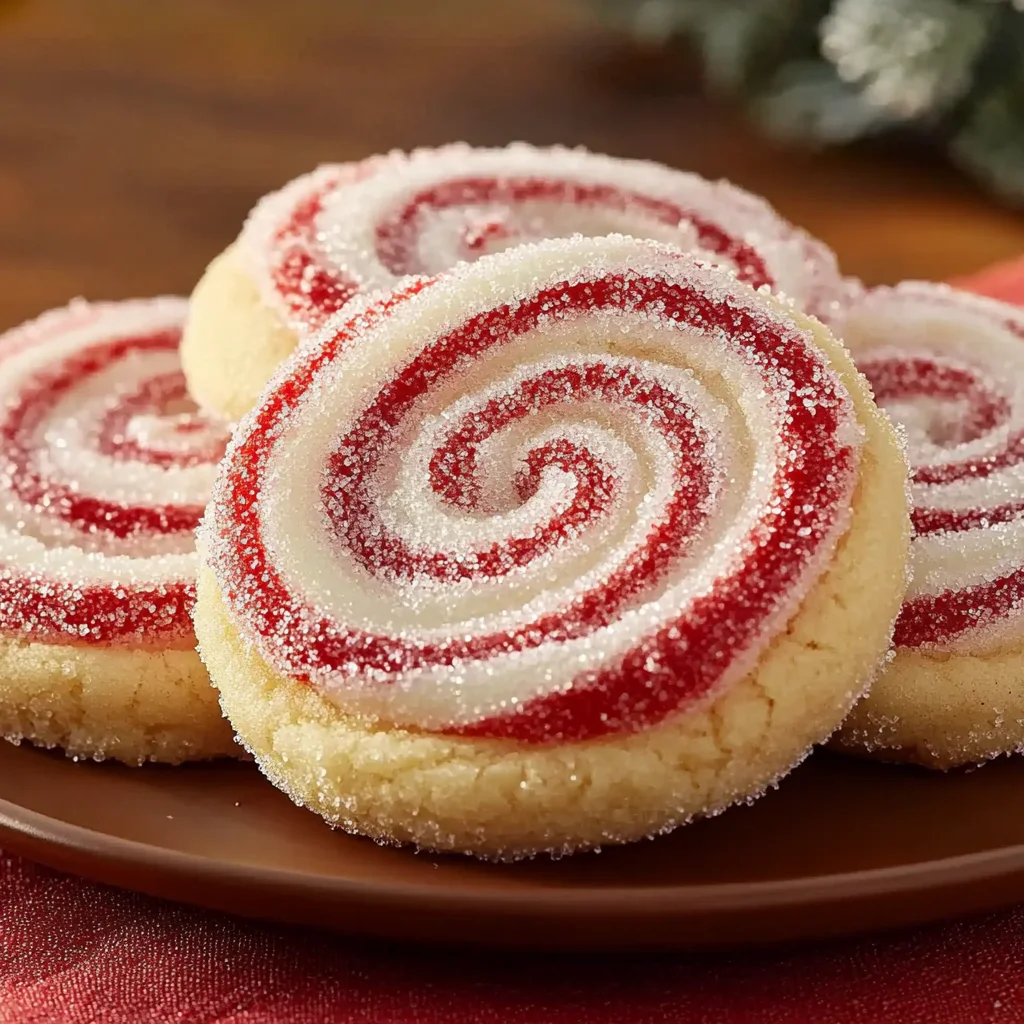
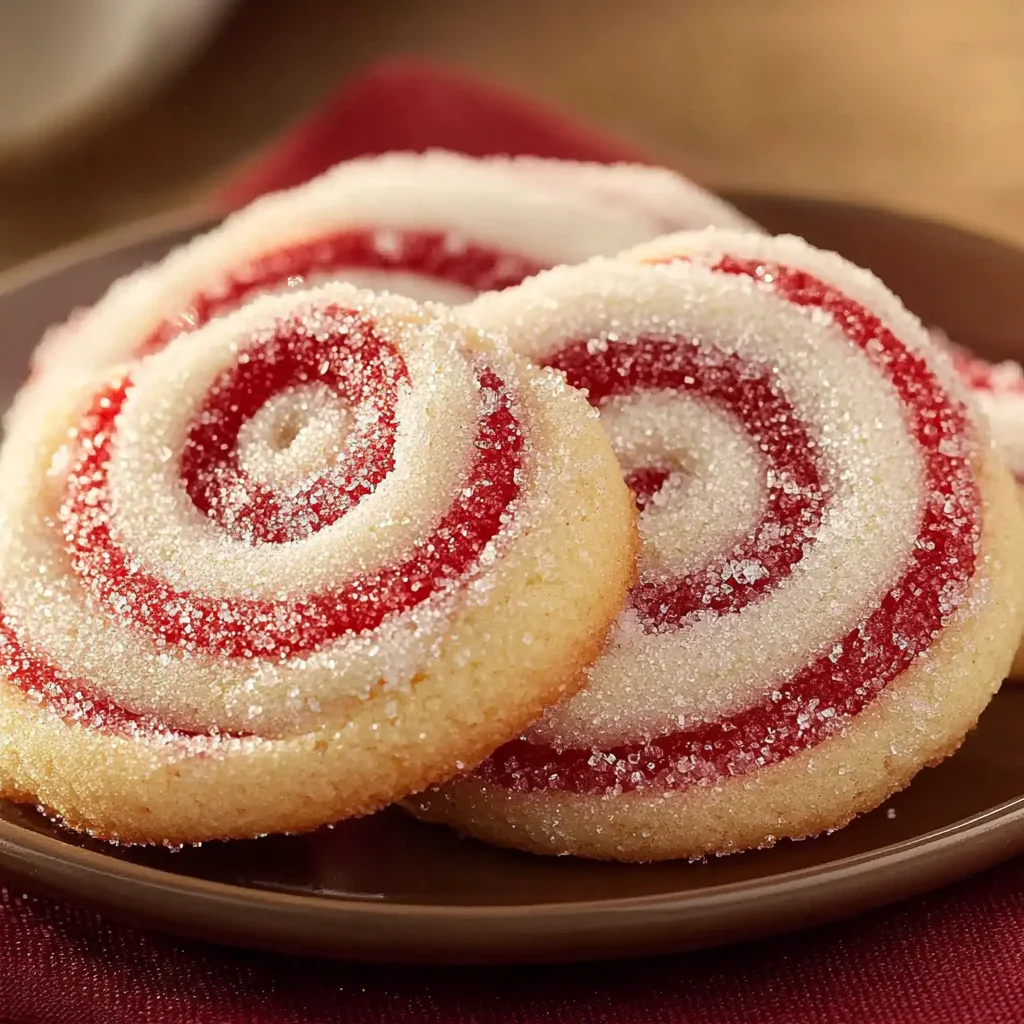
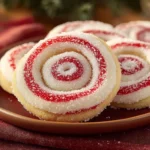
Peppermint Swirl Cookies are a festive treat that brings holiday cheer to any gathering. With their beautiful red and white swirls and delightful peppermint flavor, these cookies are perfect for Christmas parties, cookie exchanges, or just a cozy afternoon at home. Easy to make and visually stunning, they are sure to impress your family and friends.
Why You’ll Love This Recipe
- Festive Appearance: The striking red and white swirls make these cookies stand out on any dessert table.
- Delicious Flavor: The combination of vanilla and peppermint creates a refreshing taste that captures the spirit of the season.
- Versatile Treat: Perfect for holiday events, these cookies can also be enjoyed year-round for any occasion.
- Simple Process: With straightforward steps, even novice bakers can successfully create these delightful cookies.
- Customizable Coating: You can choose between coarse sugar or crushed peppermint candies for an extra sweet crunch.
Tools and Preparation
Before you start baking your Peppermint Swirl Cookies, make sure you have all the necessary tools ready. This will help streamline your baking process and ensure the best results.
Essential Tools and Equipment
- Mixing bowls
- Electric mixer
- Rolling pin
- Plastic wrap
- Baking sheets
- Parchment paper
- Sharp knife
Importance of Each Tool
- Electric mixer: Makes creaming butter and sugar effortless, ensuring a light and fluffy texture.
- Rolling pin: Essential for rolling out the dough evenly, which is crucial for creating uniform swirls.
Ingredients
To make the delicious Peppermint Swirl Cookies, you’ll need the following ingredients:
For the Cookie Dough
- 2 and 1/2 cups all-purpose flour
- 1 teaspoon baking powder
- 1/2 teaspoon salt
- 1 cup (2 sticks) unsalted butter, softened
- 1 cup granulated sugar
- 1 large egg
- 1 teaspoon vanilla extract
- 1 teaspoon peppermint extract
- Red gel food coloring
For Coating
- 1/4 cup coarse sugar or crushed peppermint candies for coating
How to Make Peppermint Swirl Cookies
Step 1: Prepare Your Dry Ingredients
In a medium bowl, whisk together the flour, baking powder, and salt. Set this mixture aside while you move on to the next step.
Step 2: Cream Your Butter and Sugar
In a large bowl, use an electric mixer to cream together the softened butter and granulated sugar until light and fluffy. Beat in the egg followed by both the vanilla extract and peppermint extract until well combined.
Step 3: Combine Wet and Dry Ingredients
Gradually add the dry ingredients to the wet mixture. Mix on low speed until just combined; be careful not to overmix as this can affect your dough’s texture.
Step 4: Color Your Dough
Divide the dough in half. Leave one half plain while adding red gel food coloring to the second half. Mix until you achieve a uniform color.
Step 5: Chill Your Dough
Wrap each ball of dough separately in plastic wrap. Chill in the refrigerator for at least 30 minutes. This will firm up your dough, making it easier to handle later.
Step 6: Roll Out Your Dough
On a lightly floured surface, roll out the plain dough into a rectangle measuring about 10×12 inches and about 1/4 inch thick. Repeat with the red dough to match size and thickness.
Step 7: Layer Your Doughs
Carefully lay the red dough rectangle directly on top of the plain dough rectangle. Gently press them together so they adhere well.
Step 8: Create a Log Shape
Starting from one long side, carefully roll up both layers tightly into a log shape. Press gently to eliminate air pockets during this process.
Step 9: Chill Again for Firmness
Wrap the log tightly in plastic wrap once more. Chill in the refrigerator for at least 2 hours or until very firm. This will prevent squishing when slicing.
Step 10: Preheat Oven
Preheat your oven to 375 degrees F (190 degrees C). Prepare baking sheets by lining them with parchment paper.
Step 11: Coat Your Log
Remove the chilled log from the refrigerator. If desired, brush it lightly with water or whisked egg white before rolling it in coarse sugar or crushed peppermint candies for coating.
Step 12: Slice Your Cookies
Using a sharp knife, slice the log into rounds about 1/4 inch thick. Place them on prepared baking sheets about an inch apart.
Step 13: Bake
Bake for about 8 to 10 minutes or until edges are lightly golden. Avoid overbaking as this can lead to tough cookies.
Step 14: Cool Down
Let your cookies cool on baking sheets for a few minutes before transferring them to a wire rack to cool completely.
Enjoy your Peppermint Swirl Cookies warm or store them in an airtight container!
How to Serve Peppermint Swirl Cookies
Peppermint Swirl Cookies are a delightful treat perfect for any occasion. Here are some creative ways to serve them that will impress your guests and elevate your dessert table.
Festive Dessert Platter
- Arrange the cookies on a decorative platter alongside other holiday treats like fudge and chocolate-covered pretzels for a colorful display.
Hot Beverages Pairing
- Serve these cookies with hot cocoa, coffee, or spiced tea. The peppermint flavor will complement the warmth of your drinks perfectly.
Gift Packaging
- Pack the cookies in festive boxes or tins tied with ribbons. These make charming gifts during the holiday season or for special occasions.
Ice Cream Sandwiches
- Use two cookies to sandwich a scoop of peppermint or vanilla ice cream. This creates a cool and refreshing dessert that’s fun and indulgent.
How to Perfect Peppermint Swirl Cookies
To ensure your Peppermint Swirl Cookies turn out beautifully every time, follow these helpful tips.
- Chill the Dough: Chilling the dough is crucial for sharp swirls and easy slicing. It helps firm up the dough, preventing it from becoming sticky during rolling.
- Use Quality Ingredients: Always opt for high-quality butter and extracts. They enhance the overall flavor of your cookies.
- Roll Evenly: When rolling out the dough, aim for consistent thickness. This ensures that the cookies bake evenly and maintain their shape.
- Avoid Overbaking: Keep an eye on your cookies while baking. Remove them when the edges are lightly golden to keep them soft inside.
Best Side Dishes for Peppermint Swirl Cookies
Peppermint Swirl Cookies can be paired with various side dishes to create an enjoyable dessert spread. Consider these delightful options:
- Peppermint Hot Chocolate
A rich and creamy hot chocolate topped with whipped cream and crushed peppermint adds a warm touch to your dessert experience. - Spiced Apple Cider
This warm beverage infused with spices complements the minty flavor of cookies, creating a cozy atmosphere. - Chocolate Fondue
Set up a chocolate fondue station where guests can dip their cookies into melted chocolate for an extra indulgent treat. - Fruit Salad
A refreshing fruit salad balances out the sweetness of the cookies, providing a light and healthy option alongside richer desserts. - Cheese Platter
A selection of mild cheeses can offer a savory contrast to the sweet peppermint flavor, making for an interesting pairing. - Gingerbread Cupcakes
These spiced cupcakes bring warmth and holiday flavors that pair well with the coolness of peppermint in your cookie spread.
Common Mistakes to Avoid
When making Peppermint Swirl Cookies, it’s easy to make some common mistakes that can affect the final product. Here are a few to watch out for:
- Incorrect Dough Temperature: Not chilling the dough properly can lead to cookies that spread too much during baking. Always chill your dough as directed for best results.
- Overmixing the Dough: Mixing too long after adding flour can make cookies tough. Mix just until combined to keep them soft and tender.
- Inconsistent Dough Thickness: Rolling the dough unevenly can result in cookies that bake at different rates. Aim for uniform thickness when rolling out the dough.
- Skipping the Coating: Neglecting to coat the cookie log in coarse sugar or crushed peppermint candies can lead to less festive-looking cookies. Be sure to roll it thoroughly for a sparkling finish.
- Overbaking: Baking for too long will dry out your cookies. Watch them closely and remove them when the edges are lightly golden.
Storage & Reheating Instructions
Refrigerator Storage
- Store cookies in an airtight container at room temperature for up to 1 week.
- If you’ve cut the cookies, place parchment paper between layers to prevent sticking.
Freezing Peppermint Swirl Cookies
- Wrap unbaked slices tightly in plastic wrap and freeze for up to 3 months.
- Baked cookies can also be frozen; place them in a freezer-safe container with layers of parchment paper.
Reheating Peppermint Swirl Cookies
- Oven: Preheat to 350°F (175°C) and warm cookies on a baking sheet for about 5 minutes.
- Microwave: Heat individual cookies on low power for about 10-15 seconds until warm.
- Stovetop: Place a cookie in a skillet over low heat, cover, and warm for about 2-3 minutes.
Frequently Asked Questions
Here are some common questions about making Peppermint Swirl Cookies.
Can I use other extracts instead of peppermint extract?
Yes! You can experiment with almond or vanilla extract for different flavors while keeping the peppermint swirl effect.
How do I get vibrant swirls in my Peppermint Swirl Cookies?
Ensure you chill the dough thoroughly before rolling it out. This helps maintain distinct colors without mixing.
What if I can’t find red gel food coloring?
You can substitute with another color or simply leave it out if you prefer traditional cookie hues.
How should I store leftover Peppermint Swirl Cookies?
Store them in an airtight container at room temperature or freeze for later enjoyment.
Can I customize this recipe?
Absolutely! Feel free to add chocolate chips or replace part of the flour with cocoa powder for a chocolatey twist.
Final Thoughts
Peppermint Swirl Cookies are not only visually stunning but also deliciously festive, making them perfect for any occasion. Customize them by adding your favorite mix-ins or adjusting flavors to create your unique version. Enjoy baking!
Peppermint Swirl Cookies
Peppermint Swirl Cookies are a delightful holiday treat that will add a festive touch to any gathering. These cookies feature vibrant red and white swirls that not only look stunning but also offer a refreshing combination of vanilla and peppermint flavors. Perfect for special occasion parties, cookie exchanges, or simply as a sweet indulgence at home, these cookies are easy to make and will impress your friends and family. With simple steps and customizable coatings, you can create a visually appealing platter that captures the spirit of the season.
- Prep Time: 30 minutes
- Cook Time: 10 minutes
- Total Time: 40 minutes
- Yield: Approximately 24 cookies 1x
- Category: Dessert
- Method: Baking
- Cuisine: American
Ingredients
- 2 and 1/2 cups all-purpose flour
- 1 teaspoon baking powder
- 1/2 teaspoon salt
- 1 cup unsalted butter, softened
- 1 cup granulated sugar
- 1 large egg
- 1 teaspoon vanilla extract
- 1 teaspoon peppermint extract
- Red gel food coloring
- Coarse sugar or crushed peppermint candies for coating
Instructions
- Whisk flour, baking powder, and salt in a bowl; set aside.
- Cream butter and sugar until fluffy; beat in egg, vanilla, and peppermint extracts.
- Gradually mix dry ingredients into the wet mixture until just combined.
- Divide dough; color half with red gel food coloring.
- Chill both doughs for 30 minutes wrapped in plastic wrap.
- Roll each dough into rectangles; layer them together and roll into a log shape.
- Chill the log for at least 2 hours before slicing into rounds.
- Preheat oven to 375°F (190°C) and prepare baking sheets with parchment paper.
- If desired, coat the log in coarse sugar or crushed peppermint candies before slicing.
- Bake cookies for 8 to 10 minutes until edges are lightly golden; cool on wire racks.
Nutrition
- Serving Size: 1 cookie (25g)
- Calories: 120
- Sugar: 7g
- Sodium: 50mg
- Fat: 7g
- Saturated Fat: 4g
- Unsaturated Fat: 2g
- Trans Fat: 0g
- Carbohydrates: 13g
- Fiber: <1g
- Protein: 1g
- Cholesterol: 20mg
Leave a Comment