
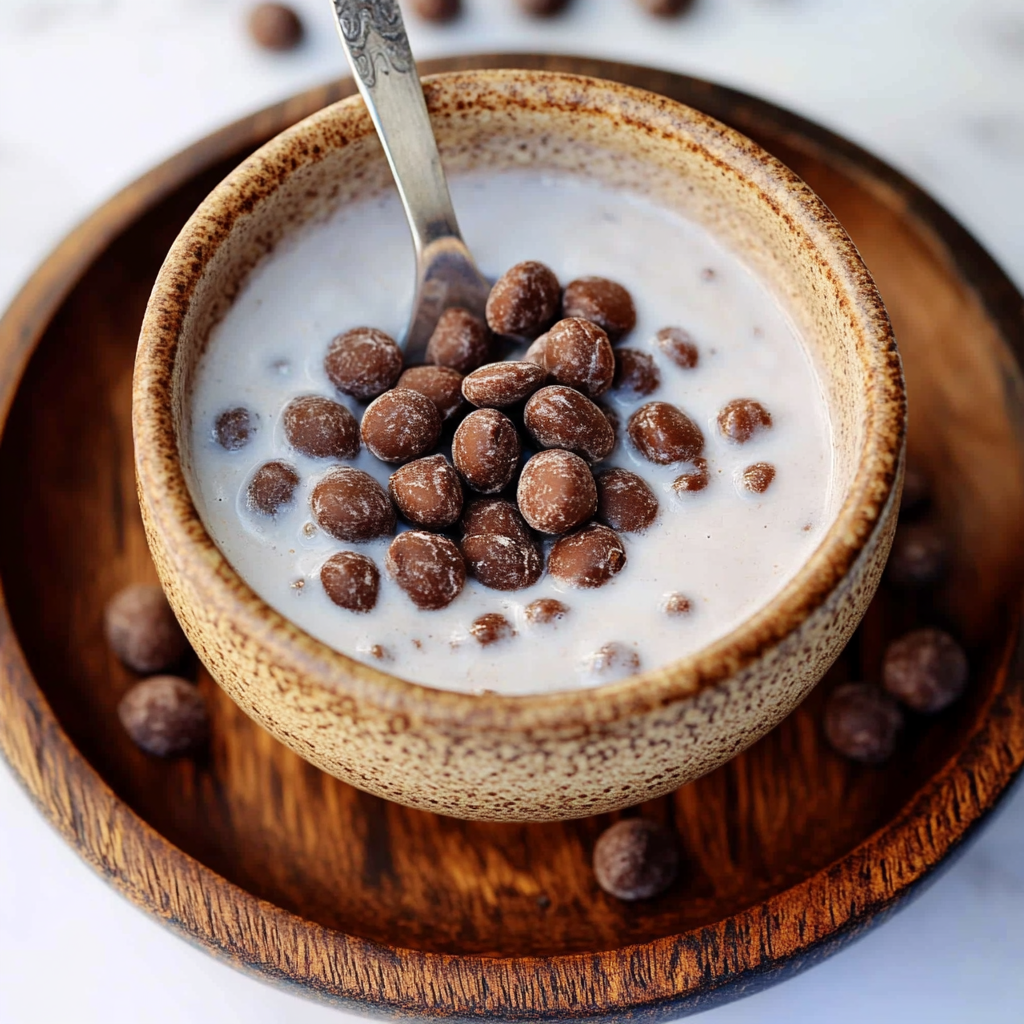
This delightful Chocolate Cereal (Homemade Cocoa Puffs) is a fantastic way to start your day! Made with just four wholesome ingredients, this healthy chocolate cereal is gluten-free, dairy-free, and refined sugar-free. It’s perfect for breakfast or as a snack any time of the day. Whether you’re serving it to kids or enjoying it yourself, these homemade cocoa puffs are sure to satisfy your chocolate cravings without compromising on health.
Why You’ll Love This Recipe
- Easy to Make: With only four simple ingredients, whipping up this chocolate cereal takes just 30 minutes from start to finish.
- Kid-Friendly: Children will love the sweet cocoa flavor and fun bite-sized shapes, making breakfast enjoyable for everyone.
- Versatile: Enjoy these homemade cocoa puffs with your favorite dairy-free milk or sprinkle them over yogurt for an extra treat.
- Wholesome Ingredients: Made from oat flour, maple syrup, nut/seed butter, and cocoa powder, this recipe is packed with nutrients.
- Customizable: Feel free to experiment with different nut butters or sweeteners based on your taste preferences.
Tools and Preparation
To make your homemade chocolate cereal efficiently, gather a few essential tools. Having the right equipment will streamline the process and ensure great results.
Essential Tools and Equipment
- Mixing bowl
- Spoon
- Baking sheet
- Parchment paper or silicone mat
- Knife
Importance of Each Tool
- Mixing bowl: A sturdy bowl helps combine ingredients evenly for a smooth dough texture.
- Baking sheet: Provides ample space for baking multiple chocolate cereal balls at once while ensuring even cooking.
- Knife: Useful for cutting the dough into uniform pieces, ensuring consistent baking times.
Ingredients
For this delicious chocolate cereal recipe, you will need:
Dry Ingredients
- 2/3 cup oat flour (gluten-free if needed)
- 2 1/2 Tbsp cocoa powder (or cacao powder)
Wet Ingredients
- 3 Tbsp maple syrup (or any other liquid sweetener)
- 3 1/2 Tbsp nut/seed butter (of choice)
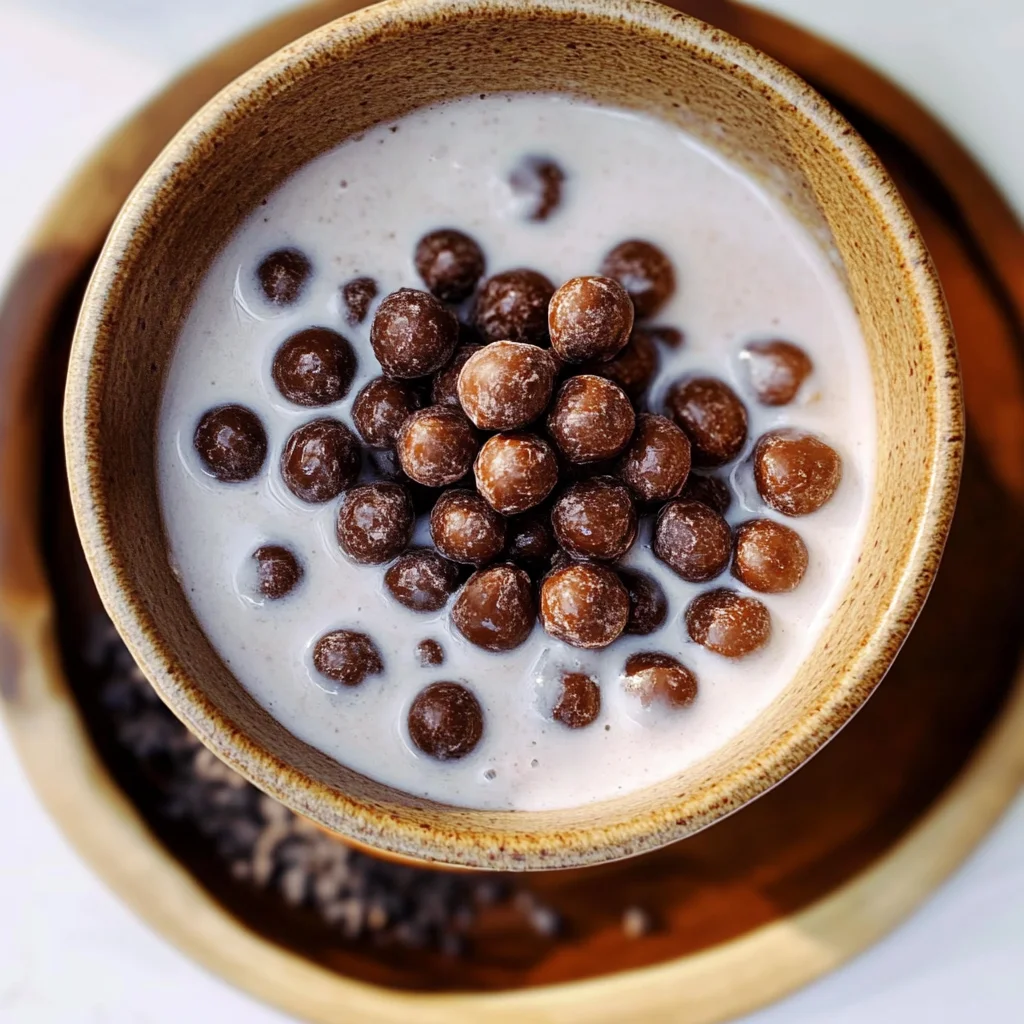
This healthy chocolate cereal has just 4 ingredients and is gluten-free, dairy-free, and refined sugar-free, made with simple, wholesome pantry staples. Both kids and adults will love these homemade cocoa puffs!
How to Make Chocolate Cereal (Homemade Cocoa Puffs)
Step 1: Combine Wet Ingredients
- In a mixing bowl, combine the nut/seed butter and maple syrup. Stir well with a spoon until fully blended.
Step 2: Add Dry Ingredients
- Add the oat flour and cocoa powder, mixing again until thoroughly combined.
Step 3: Form the Dough
- Use your hands to shape the mixture into a dough.
- If it’s too dry, add more maple syrup or nut/seed butter. If it’s too wet, incorporate more oat flour, one teaspoon at a time.
Step 4: Prepare for Baking
- Preheat your oven to 320 °F (160 °C).
- Line a large baking sheet with parchment paper or a silicone mat.
Step 5: Shape the Dough
- Divide the dough into four pieces and roll each piece into ropes about 1 inch thick.
- Cut each rope into smaller pieces approximately ½-¾ inch thick.
- Roll each piece into balls using your hands; you should create between 120-140 balls.
Step 6: Bake the Cereal Balls
- Transfer the prepared cereal balls onto the baking sheet, leaving space between them.
- Bake for about 10 minutes.
- Allow them to cool completely; they will firm up as they cool down. Be careful not to overbake!
Step 7: Serve and Enjoy!
Enjoy your homemade chocolate cereal balls for breakfast with your favorite dairy-free milk or sprinkle some fresh fruit on top!
How to Serve Chocolate Cereal (Homemade Cocoa Puffs)
Serving homemade chocolate cereal is simple and fun! This delightful treat can be enjoyed in various ways, making it a versatile addition to your breakfast or snack routine.
With Dairy-Free Milk
- Pour your favorite dairy-free milk over the chocolate cereal for a classic breakfast experience. Almond milk, oat milk, or coconut milk all pair wonderfully.
Topped with Fresh Fruit
- Add sliced bananas, strawberries, or berries on top for a refreshing twist. The fruit enhances the flavor and adds nutritional value.
As a Snack
- Enjoy these cocoa puffs straight from the bowl as a quick snack. They’re perfect for munching on-the-go or during movie nights.
Mixed with Yogurt
- Stir the chocolate cereal into dairy-free yogurt for a creamy and indulgent treat. This combo makes for a filling and nutritious option.
In Smoothie Bowls
- Sprinkle the cereal on top of smoothie bowls for added crunch. It complements blended fruits beautifully while adding texture.
As a Dessert Topping
- Use the cocoa puffs as a topping for dairy-free ice cream or parfaits. Their chocolate flavor enhances sweet treats without overpowering them.
How to Perfect Chocolate Cereal (Homemade Cocoa Puffs)
Making the perfect homemade chocolate cereal takes a few tips to ensure great results every time!
- Use Fresh Ingredients: Ensure your oat flour and cocoa powder are fresh for the best flavor and texture.
- Adjust Sweetness: Taste the dough before baking; feel free to add more maple syrup if you prefer it sweeter.
- Monitor Baking Time: Keep an eye on the oven to prevent burning; they should be golden but not too dark.
- Let Them Cool: Allow the cereal balls to cool completely before storing them. This helps them firm up properly.
- Experiment with Flavors: Try adding spices like cinnamon or vanilla extract for an extra flavor kick.
- Store Properly: Keep your chocolate cereal in an airtight container to maintain freshness and crunchiness.
Best Side Dishes for Chocolate Cereal (Homemade Cocoa Puffs)
Pairing side dishes with your chocolate cereal can create a balanced meal. Here are some delicious options!
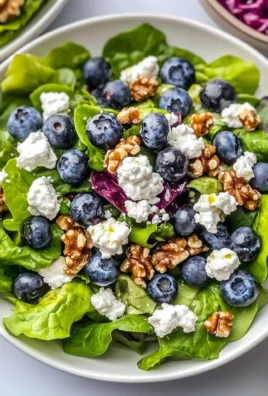
- Fruit Salad: A mix of seasonal fruits adds sweetness and freshness, perfectly complementing the rich cocoa flavor.
- Nut Butter Toast: Spread almond or peanut butter on whole-grain toast for a protein-packed side that pairs well with chocolate.
- Chia Seed Pudding: This creamy pudding makes an excellent match, providing healthy fats and fiber that work well together.
- Smoothie: Blend up your favorite fruits and greens for a refreshing drink that balances out the sweetness of the chocolate cereal.
- Granola Bars: Homemade granola bars can provide an additional crunchy element while keeping things wholesome and satisfying.
- Rice Cakes with Hummus: Light rice cakes topped with savory hummus offer a unique contrast to sweet cocoa puffs, enhancing taste variety.
- Oven-Baked Apples: Warm spiced apples baked until tender make for a comforting side dish that pairs beautifully with chocolate flavors.
- Veggie Sticks with Dip: Crunchy veggies such as carrots or celery served with hummus serve as a refreshing counterpoint to sweet treats.
Common Mistakes to Avoid
When making Chocolate Cereal (Homemade Cocoa Puffs), it’s easy to make a few common mistakes. Here are some tips to ensure your cereal turns out perfectly!
- Not measuring ingredients accurately: Using imprecise measurements can affect the texture and taste. Always measure your ingredients with proper tools for consistent results.
- Skipping the cooling step: Allowing the cereal balls to cool completely is crucial for them to firm up. Skipping this step may lead to a soggy texture.
- Overbaking the cereal: Keep an eye on your puffs while baking. They can burn quickly if left in too long; aim for a light golden brown.
- Using the wrong nut/seed butter: Different nut butters have varying consistencies, affecting dough texture. Choose one that matches your desired outcome.
- Ignoring dough consistency: If your dough is too dry or wet, adjust accordingly before baking. This ensures your cereal balls hold together well.
Storage & Reheating Instructions
Refrigerator Storage
- Store chocolate cereal in an airtight container.
- It will last for up to 1 week in the refrigerator.
Freezing Chocolate Cereal (Homemade Cocoa Puffs)
- Freeze in a single layer on a baking sheet for about 1-2 hours before transferring to a freezer-safe bag or container.
- It can be stored for up to 3 months.
Reheating Chocolate Cereal (Homemade Cocoa Puffs)
- Oven: Preheat to 300°F (150°C) and bake for 5-7 minutes until warmed through.
- Microwave: Heat in short bursts of 15-20 seconds, checking frequently to avoid overheating.
- Stovetop: Add a splash of non-dairy milk and heat gently over low heat until warmed.
Frequently Asked Questions
How do I make Chocolate Cereal (Homemade Cocoa Puffs) gluten-free?
You can easily make this recipe gluten-free by using certified gluten-free oat flour. This ensures that everyone can enjoy this delicious treat without worry.
Can I substitute the sweetener in Chocolate Cereal (Homemade Cocoa Puffs)?
Yes! You can use other liquid sweeteners like agave syrup or honey if preferred. Adjust based on your taste preference and dietary needs.
What kind of nut/seed butter works best for this recipe?
Any nut or seed butter you enjoy will work well, such as almond butter, peanut butter, or sunflower seed butter. Just ensure it has a similar consistency.
How long does homemade chocolate cereal last?
When stored properly, homemade chocolate cereal can last up to one week in the refrigerator and three months in the freezer.
Final Thoughts
This Chocolate Cereal (Homemade Cocoa Puffs) is not only simple but also a delightful breakfast option that both kids and adults will love. With just four ingredients, it’s easy to customize with your favorite nut or seed butter and sweeteners. Give this recipe a try and enjoy a healthier twist on traditional cocoa puffs!
Chocolate Cereal (Homemade Cocoa Puffs)
Indulge in a healthier breakfast option with this delightful Chocolate Cereal (Homemade Cocoa Puffs). Made from just four wholesome ingredients, this cereal is not only gluten-free and dairy-free but also refined sugar-free. It’s the perfect way to satisfy your chocolate cravings without compromising on health. In just 30 minutes, you can whip up a batch that both kids and adults will love. Enjoy it with your favorite dairy-free milk, sprinkle over yogurt, or snack on them straight from the bowl. This versatile treat is customizable, allowing you to experiment with different nut butters and sweeteners based on your taste preferences.
- Prep Time: 10 minutes
- Cook Time: 10 minutes
- Total Time: 20 minutes
- Yield: About 15 servings 1x
- Category: Breakfast
- Method: Baking
- Cuisine: American
Ingredients
- 2/3 cup oat flour (gluten-free if needed)
- 2 1/2 Tbsp cocoa powder (or cacao powder)
- 3 Tbsp maple syrup (or any other liquid sweetener)
- 3 1/2 Tbsp nut/seed butter (of choice)
Instructions
- In a mixing bowl, combine nut/seed butter and maple syrup until well blended.
- Stir in oat flour and cocoa powder until fully combined.
- Shape the mixture into dough; adjust consistency with more maple syrup or oat flour if necessary.
- Preheat oven to 320°F (160°C) and line a baking sheet with parchment paper.
- Roll the dough into ropes, cut into pieces, and form into balls.
- Bake for about 10 minutes; cool completely before serving.
Nutrition
- Serving Size: 1/4 cup (approximately 30g)
- Calories: 120
- Sugar: 3g
- Sodium: 5mg
- Fat: 5g
- Saturated Fat: 1g
- Unsaturated Fat: 4g
- Trans Fat: 0g
- Carbohydrates: 16g
- Fiber: 2g
- Protein: 3g
- Cholesterol: 0mg


Leave a Comment